
Embroidered Placemats
A fun way to incorporate embroidery designs into your home decor!

I created these placemats as samples for my OESD traveling trunk show, hence the materials referenced will all be from OESD (Oklahoma Embroidery Supply and Design).
The beautiful bee and butterfly designs were released by OESD in April 2024 as part of their exclusive SPREE Stitchers Club. (So, yes, this does mean you must belong to the Stitchers Club to get these designs.)
But, if you’re not a member, do not despair! You can use any design for these placemats! I will give you the basics for stitching and assembling below.
Finished size of placemat: 19.25” x 12.25”

Now if you look close, you’ll see I added quilting behind the bee and butterfly. This helped to minimize puckers. These designs were VERY dense. In retrospect, I should have used more stabilzer. Lesson learned!
Here are the supplies I used, please feel free to change this up however you would like!
Recommended stabilizers:
-OESD Fusible Woven: fuse one layer to the back of cotton fabric. This will enhance the cotton and help it to hold up
better against the dense stitches, this translates to less puckers or wrinkles!
** I almost ALWAYS use Fusible Woven on the back of my cotton for this reason.
-One layer of CUTAWAY: Some options…Medium Weight, Heavy Weight or StabilStick (by OESD) but all should say CUTAWAY.
Stay away from just using polymesh unless your design is much less dense. I had issues with it, not enough structure. (see below)
-Optional TEARAWAY: …see below (again)
Important: IF you notice any puckering while stitching…
Stop your machine, cut your threads and insert a layer of tearaway stabilizer under the hoop. This is called “floating” and is an effective way to add more stabilizer to a project after it has already begun stitching.
** Full Disclosure- I am not perfect and definitely learn from trial and error:
In my first example (the bee), I used two layers of medium weight tearaway plus Fusible Woven. This worked okay but I wanted to see if I could improve my results.
The next time (the butterfly), I used one layer of Polymesh Cutaway and one layer of fuse and fleece. I had a lot of puckering at the base of the butterfly. For this reason, I decided to add quilting to the background.
Since then, I’ve spoken with other educators who have stitched this out and they had the best results using the combination I listed above, using a heavier cutaway! Stabilizer is not an exact science.
Fabric:
I used 100% cotton fabric for all of my fabric.
I always get a lot of requests for the name of the blue and yellow fabrics. They’re shiny/glittery and very soft and smooth! They are both from Maywood Studio, Starlight Metallics (colors: Gold and Patina)
Finished size of placemat: 19 1/4” wide x 12 1/4” tall
Cutting Instructions:
1. Main fabric (Embroidered Square):
Cut large enough to fit your hoop.
Just make sure it’s at least: **12.75” tall x 13.50” wide You’ll need it to be that big later when we assemble the placemat.
2. Strips (use four different fabrics):
Cut 4 strips, each 2” x 14”
3. Backing: I like to wrap my back to the front instead of using a traditional binding so my backing is 1” larger than the finished
front.
4. Batting: Cut 22” x 15”. I used OESD Fuse and Fleece, this is a fusible batting and is very thin.
Thread: Isacord, 40 weight embroidery thread
Design: OESD’s, April 2024 Exclusive SPREE Designs “Jumbo Royal Insects”
(*you must be a Spree Stitchers Club member to access these designs at the time of writing so if you’re not…use any design!!)
Decorative Stitches….
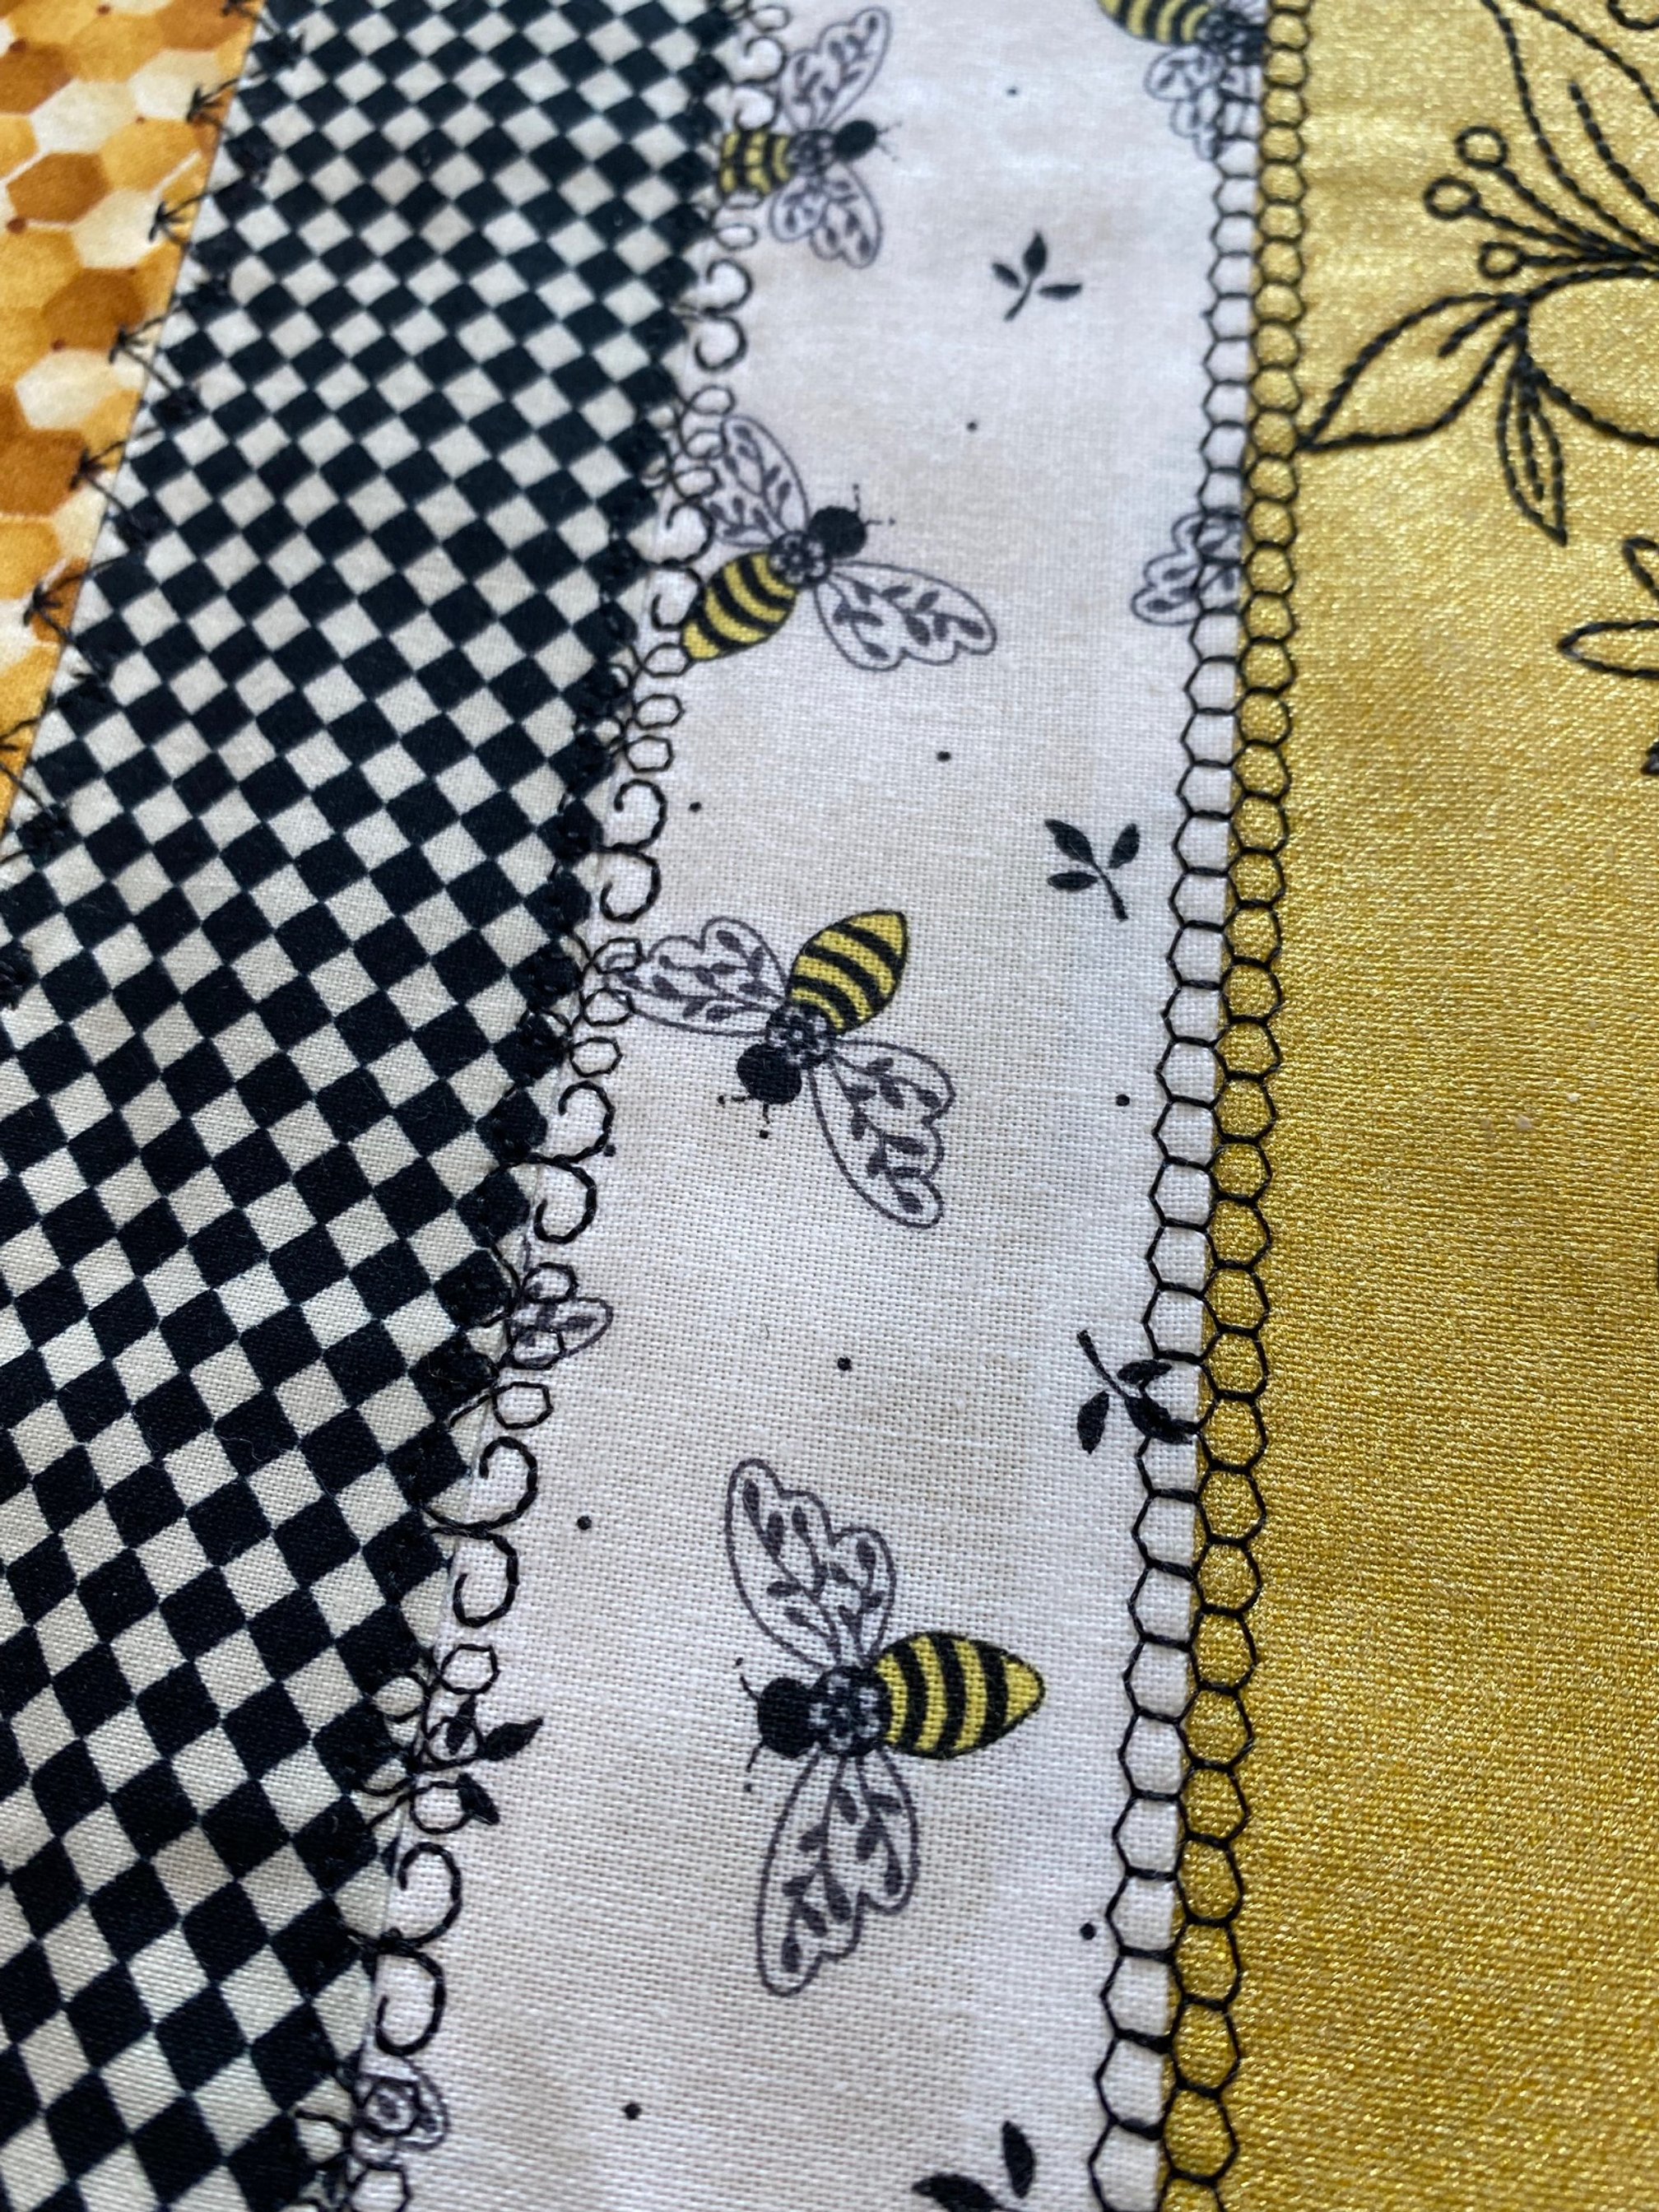
Something fun about these placemats (and something that always gets a lot of comments) is the decorative stitches in between the strips. To be fair, this was not something I thought of on my own.
I’ve seen lots of people use this technique from placemats to table runners to quilts and I love this little addition! They make the placemats whimsical and different!
Everyone has tons of decorative stitches in their sewing machines so it’s fun to pick some and play!

Step 1:
Iron Fusible Woven to the backside of the fabric.
Hoop fabric and stabilizer.
Load design in machine.

Step 2:
Stitch out design.
This is the fun and relaxing part….Enjoy!

Enjoy how GOOD it looks!

Step 3: Audition fabric strips
I pulled a bunch of fabrics from my stash and laid them next to the embroidered fabric. Ultimately I ended up with the ones you see here!
Note: I used two layers of tearaway stabilizer plus fusible woven in this sample and it looks pretty good! Just goes to show, there are multiple combinations of stabilizer that can work!
I never cut my embroidered fabric until I’m sure of the size I will need and I’m mostly done with the sewing.

Step 4- Add the Strips
Slide the batting underneath the embroidered fabric.
Make sure it’s large enough to cover the area where the strips will be placed, so position the battingslightly to the left of the design.
This is what it will look like after all of the strips have been added.

First Strip
Position the first strip to the left of the embroidery design.
(I forgot to take photos of this step as I was doing it so the embroidery design can’t be seen).
Place the right side of the strip down against the main fabric. Sew using a 1/4” seam allowance.

Flip and fold the strip outward. Press

Position next strip, right side down and stitch.

Flip and press. Continue adding strips until all four have been added.

Once you’ve added all four strips, you’re ready to either CUT and finish your placemat OR embroider it (which is what I did).

Quilting in the Hoop (optional)
I rehooped my placemat using OESD Fuse and Fleece. Notice I had NOT cut it yet.
I lined up my design using the built-in camera and added a fill stitch.
**(This is a whole other lesson but if you’re familiar with how to use your machine for quilting in the hoop, you can do that here).
Step 5- Decorative Stitches!
Whether or not you decide to quilt, at this point you want to add those decorative stitches!!
I chose to use an embroidery thread color that would show up on my strips.
Get creative with your stitches, this is pure creativity!


Step 6
Trim placemat to approximately 20” wide x 13” tall.

Step 7
Add backing fabric and bind.

That’s it! Repeat for as many placemats as you’d like to make!
Thank you for joining me! Have fun!
Heather
Any questions you can reach me at:
heatherbanks38@yahoo.com